#2 Dual-boot Windows 7 and Kali Linux
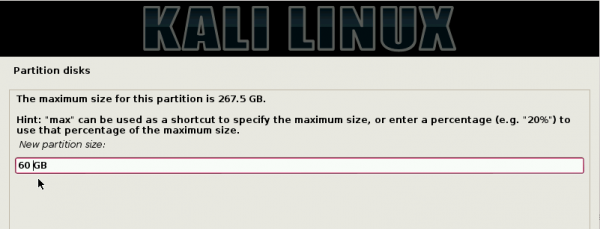
The next partition will be mounted at /. A new installation of Kali Linux takes up about 6.4 GB of disk space, so any amount greater than that will do. For the test installation, I gave it 60 GB, which is way too much, so you do not have to do the same. About 10-12 GB is more than enough. Continue.
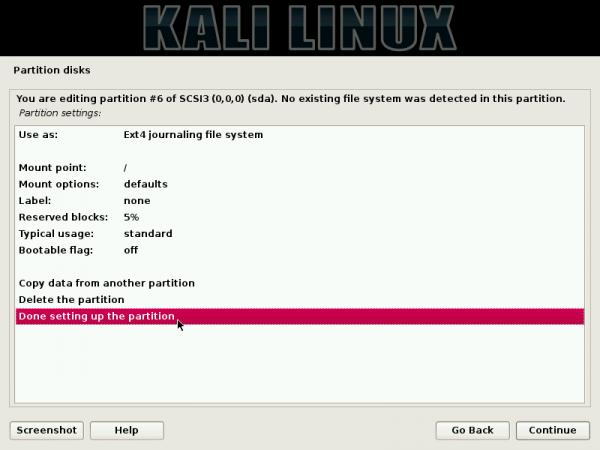
Here are the details of the new partition. Scroll to “Done setting up the partition,” then click Continue.
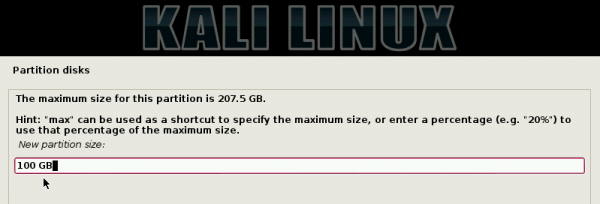
For the home partition, I gave it a disk space of 100 GB. Continue.
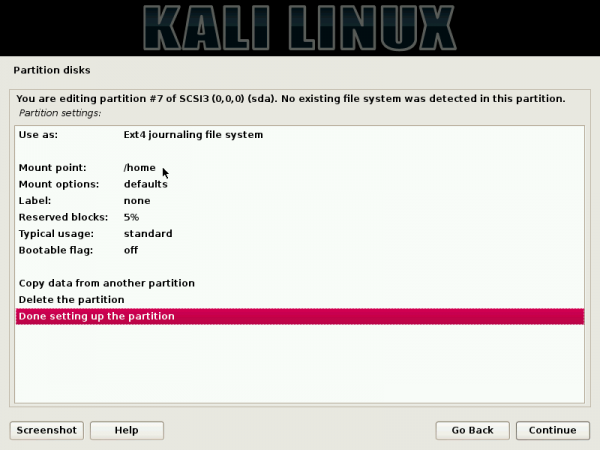
Here are the details of the new partition. Scroll to “Done setting up the partition,” then click Continue.
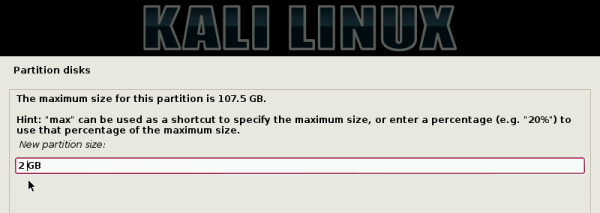
For Swap, 2 GB is good enough. Continue.
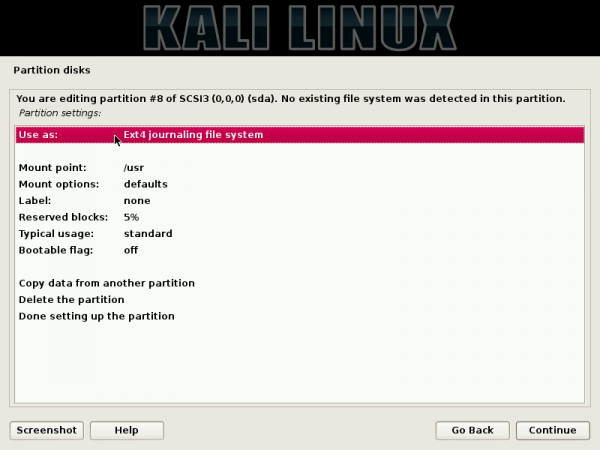
Here are the default details of the new partition. To specify that it be used as a Swap partition, double-click the “Use as” line.
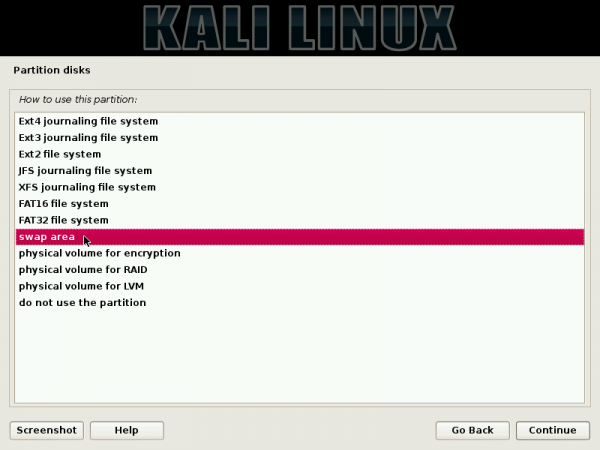
Then select “swap area.” Continue.
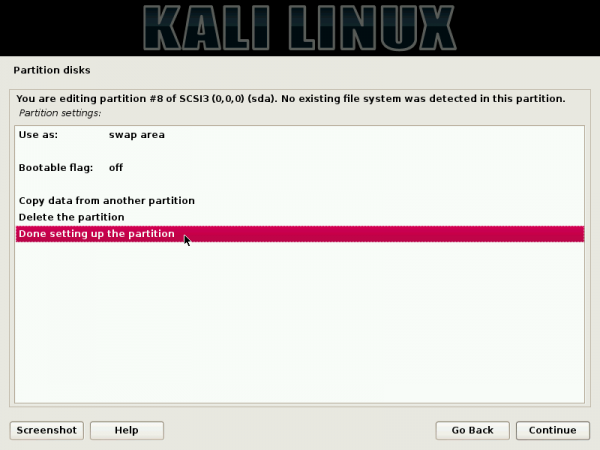
Scroll to “Done setting up the partition,” then click Continue.
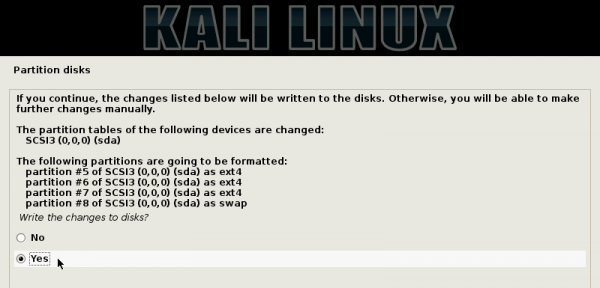
With all the partitions created, scroll to “Finish partitioning and write changes to disk.” Continue. Make note of the device number of the boot partition. Here, it is sda5. You’ll need it later.

Select “Yes.” Continue.
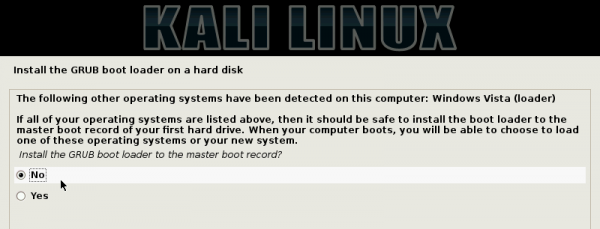
By default, the installer will want to install GRUB, the boot loader, in the Master Boot Record (MBR). However, for setting up this dual-boot system, we want GRUB in the boot partition. So, select “No.” Continue.
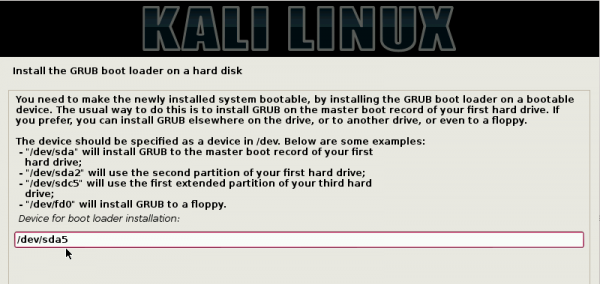
This is where you have to specify where GRUB should be installed. For this test system, it is /dev/sda5. Continue.
After installation, the computer will reboot into Windows 7. The next task involves add an entry for Kali Linux in Windows 7’s boot menu.
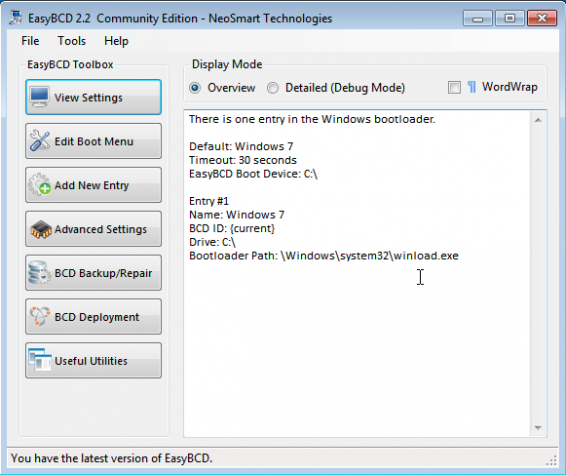
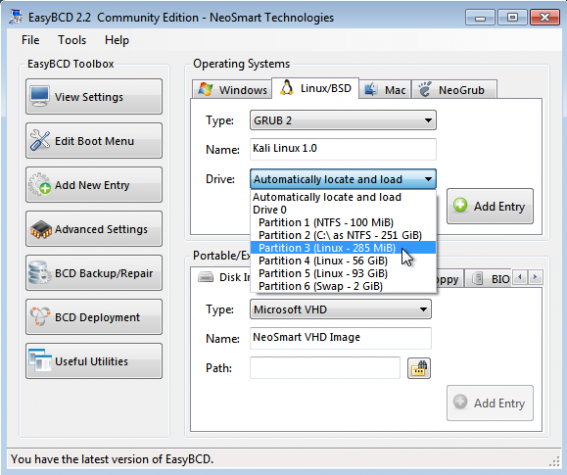
3. Add Kali Linux to Windows 7’s boot menu: The simplest graphical application for modifying the Boot Configuration Data of Window that I know, is EasyBCD. It is free for personal use. You may download it from here. Install it as you would any other Windows application. The main window is shown below. To add an entry for Kali Linux in the boot menu, click on the Add New Entry tab.
Then click on the Linux/BSD tab. From the Type dropdown menu, select GRUB 2. Modify the name field to reflect the name of the distribution you are adding. From the Drive menu, you can either select the specific partition corresponding to the boot partition of the Kali Linux installation or let EasyBCD automatically locate and load it. Either one will work. Note that EasyBCD’s drive numbers and the device numbers of the Linux partitions do not match. For example, in this test installation, the boot partition is /dev/sda5, but the corresponding drive number in EasyBCD is Partition 3. The size of the partition helps to determine which one it is. Click the Add Entry button when wll the options have been specified.
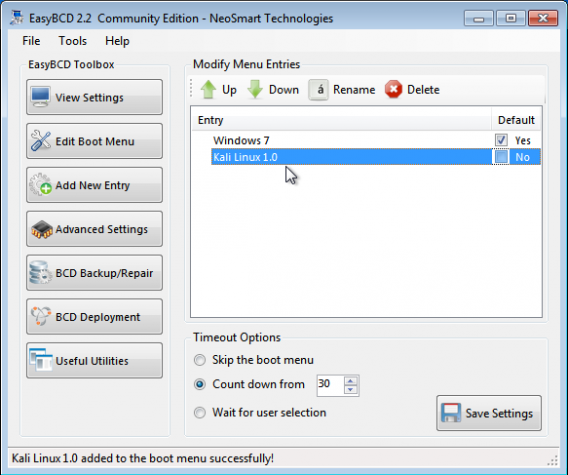
From the Edit Boot Menu tab, you can see a preview of the entries that will appear in the Windows 7 boot menu. Exit EasyBCD and reboot the computer. That should do it.
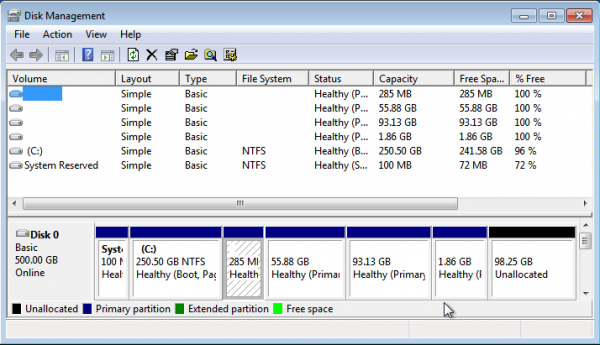
Extra: Here are all the partitions on the HDD as seen from the Windows 7 partition manager.
--- Page 1 --- Click here for Page 1
No comments:
Post a Comment