#1 Dual-boot Windows 7 and Kali Linux
This article is a step-by-step guide on how to dual-boot Windows 7 and Kali Linux on a single hard disk drive (HDD). Kali Linux is what used to be BackTrack Linux, a distribution designed for penetration testing and security professionals. It ships with about 300 penetration testing and hacking applications installed.
While BackTrack is based on Ubuntu, Kali Linux is based on Debian, and uses the complete Debian Installer. As a result, the installation process is different from that of BackTrack, which uses Ubuntu’s graphical installation program.
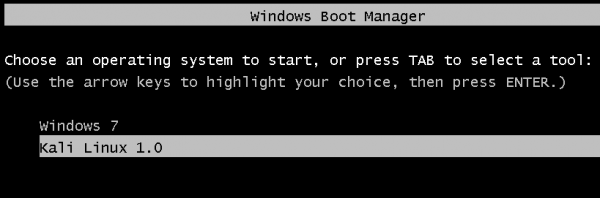
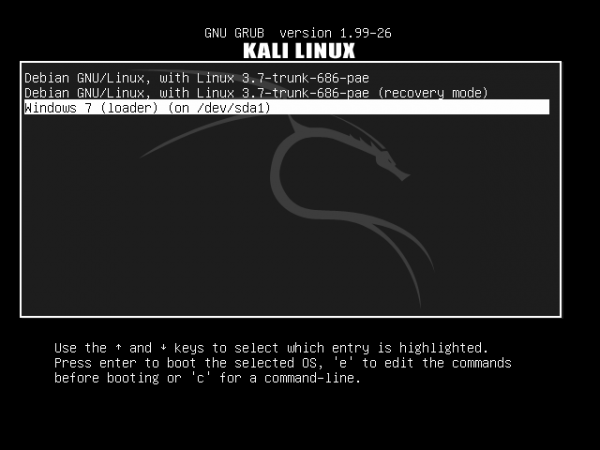
The objective here is to show how to install it on an HDD alongside an existing installation of Windows 7, with the Windows 7 boot manager as the “master” boot loader, so that at the end, when the computer is (re)booted, you will be presented with a boot menu that looks just like the one shown below. Selecting Windows 7 boots the system into Windows 7 and choosing Kali Linux will, by default, take you to the Kali Linux boot menu, which is the same thing as the GRUB 2 menu, the version of GRUB used by Kali Linux.
To bypass Kali Linux’s boot menu, simply edit the file named /etc/default/grub and change GRUB_TIMEOUT=5 to GRUB_TIMEOUT=0. Then run the update-grub command.
Now that we know what to do, and what the result will be, let’s get it done. If you have not done so already, download an installation image of Kali Linux from here.
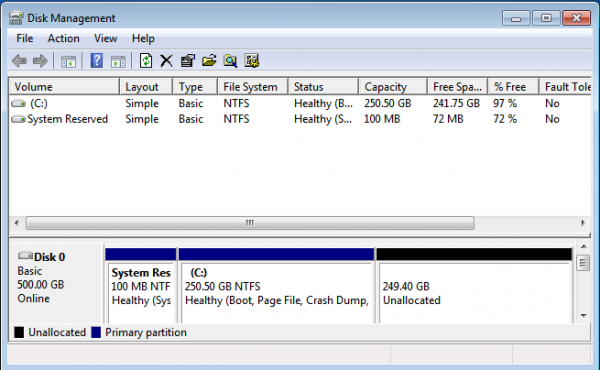
1. Shrink the Windows 7 C Drive: My test system has an existing installation of Windows 7 on a 500 GB HDD, with just two primary partitions. This is how they appear in Windows 7’s partition manager. The task here is to shrink the C drive to create room for installing Kali Linux. To do that, right-click on the C drive and select Shrink Volume.
Note: If you intend to install Windows 7 afresh, this process will be a lot easier if you set aside the free space that will be used for Kali Linux during the installation of Windows 7.

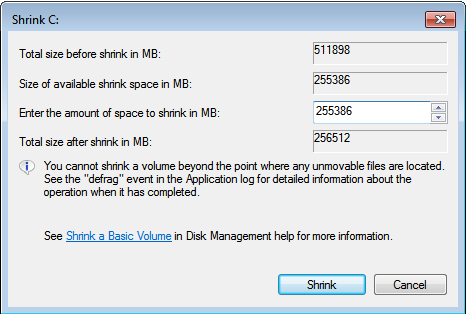
If you have enough free space on the C drive, the system will suggest a 50-50 split of the free space. Which is just good enough for this test installation. Shrink.
After the operation has completed, you should see the newly reclaimed space next to the C drive. You may exit the partition manager and reboot the computer. Be sure to have the installation disc of Kali Linux in the optical drive before rebooting.
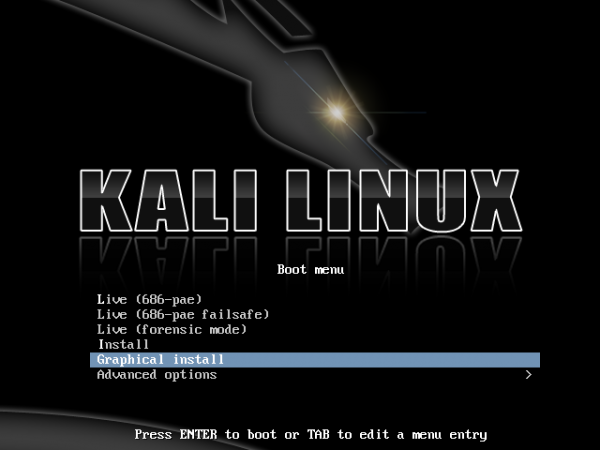
2. Install Kali Linux: The best option to select on Kali Linux’s boot menu is Graphical Install. It gives you a point-and-click installation process. Install works just as well, but the interface is ncurses-based.
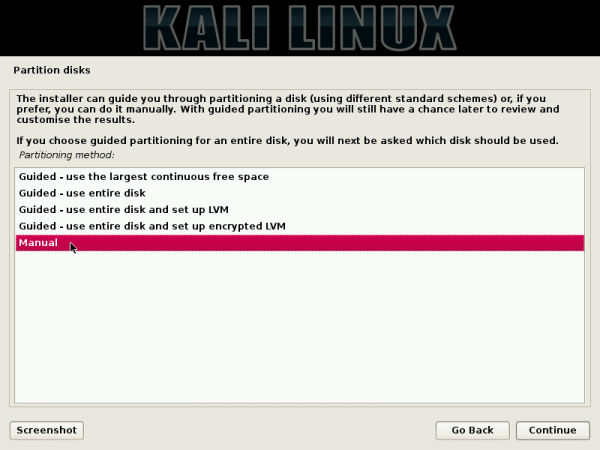
For installing Kali Linux, the following partitions will be created: /boot, /, /home, and Swap. In that order. The /home partition is optional. At the disk partitioning methods step of the installation process, you get a bunch of options. Because none of the guided options will create a separate /boot partition, creating the partitions will have to be done manually. So select “Manual” and click Continue.
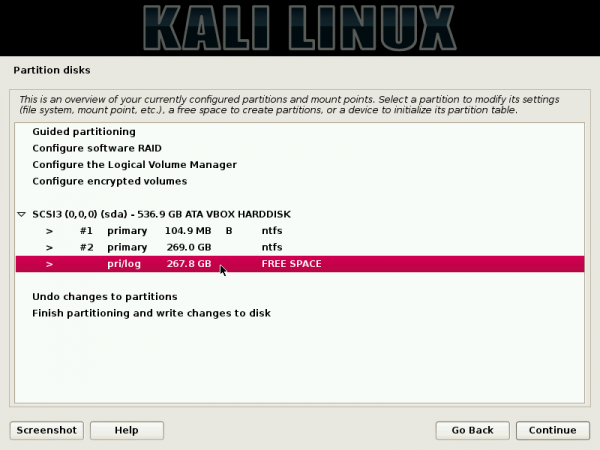
Here you can see the existing Windows 7 partitions, both of which are primary partitions. The free space, reclaimed from Windows 7 in the previous step is what will be used for creating the partitions for Kali Linux. To start creating the partitions, select the free space and click Continue.
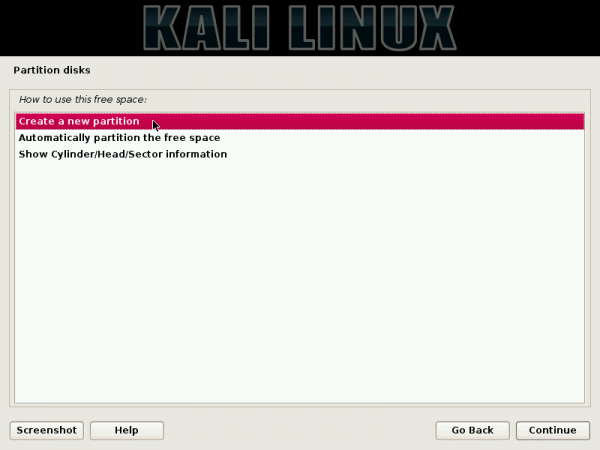
Create a new partition. Continue.
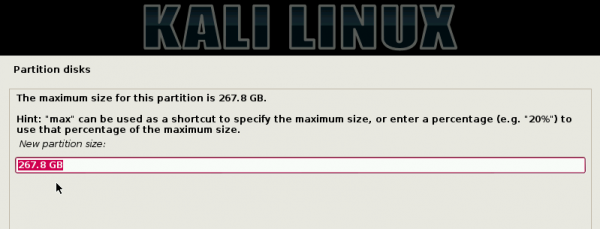
This shows the total amount of disk space available for Kali Linux. The /boot partition will be created first, so you need to specify the amount of disk space for it.
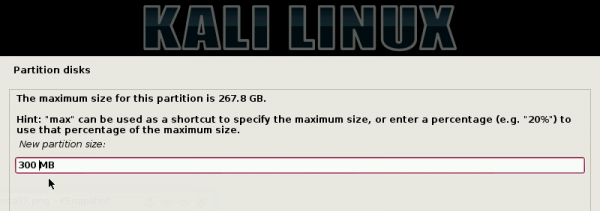
For this test system, I assigned 300 MB to it. Continue.
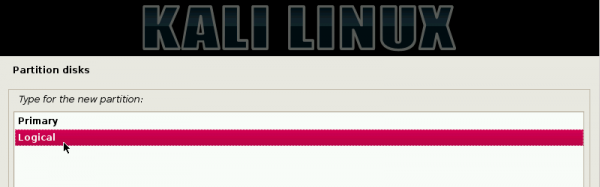
Because you still have two primary partitions to use, you can create the boot partition as a primary or logical partition. Either option will work, but the installer prefers creating it as a primary partition, if the boot loader is going to be installed in it. For this test installation, I chose to create it as a logical partition. Continue.
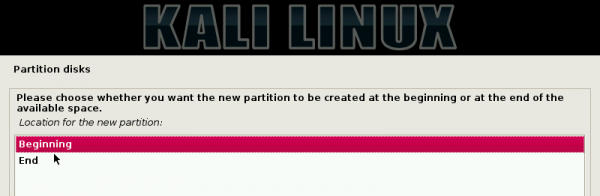
Beginning. Continue.
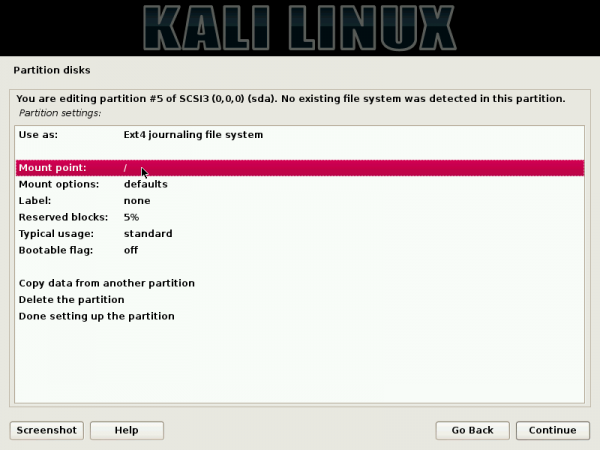
This step shows the details of the boot partition you just created. The only thing you need to change here is the mount point. Double-clicking on it will open another window where you can specify the correct mount point.
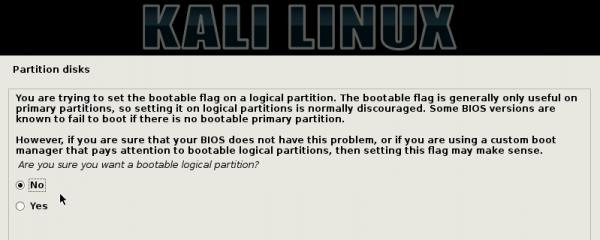
Here’s what it should look like after the mount point has been specified. The other option you might want to change here is the Bootable flag.

There is a good reason it should be enabled, but the system will boot even if it is disabled. It just depends on your BIOS version. For this test installation, it was disabled and the system still worked perfectly.
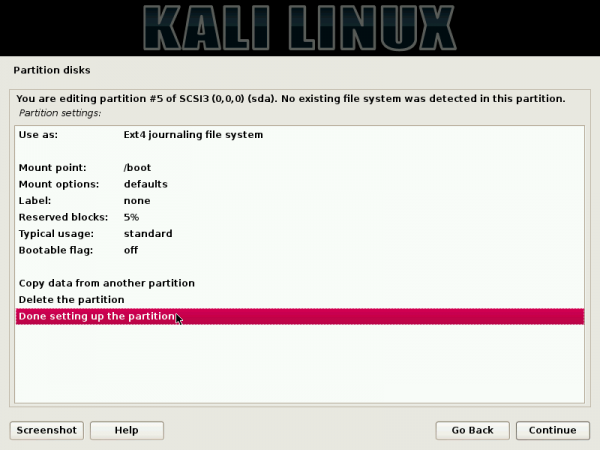
Here’s the final details of the boot partition. Scroll to “Done setting up the partition,” then click Continue. Note that the steps you used to create the boot partition will be repeated for the other partitions.
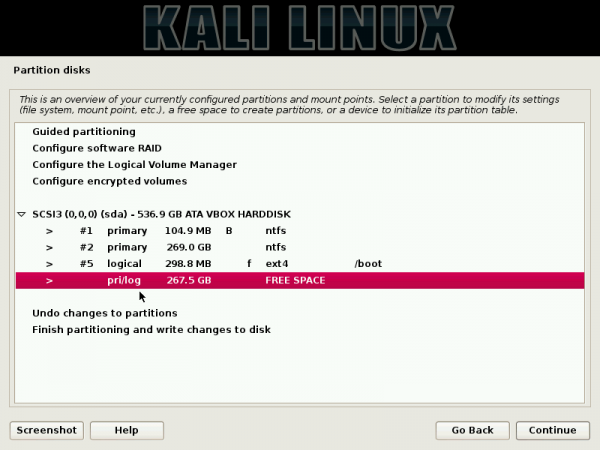
Back to the main disk partitioning window, you can see the boot partition you just created, plus the remaining free space. Select, the free space, then click Continue.
This article is a step-by-step guide on how to dual-boot Windows 7 and Kali Linux on a single hard disk drive (HDD). Kali Linux is what used to be BackTrack Linux, a distribution designed for penetration testing and security professionals. It ships with about 300 penetration testing and hacking applications installed.
While BackTrack is based on Ubuntu, Kali Linux is based on Debian, and uses the complete Debian Installer. As a result, the installation process is different from that of BackTrack, which uses Ubuntu’s graphical installation program.
The objective here is to show how to install it on an HDD alongside an existing installation of Windows 7, with the Windows 7 boot manager as the “master” boot loader, so that at the end, when the computer is (re)booted, you will be presented with a boot menu that looks just like the one shown below. Selecting Windows 7 boots the system into Windows 7 and choosing Kali Linux will, by default, take you to the Kali Linux boot menu, which is the same thing as the GRUB 2 menu, the version of GRUB used by Kali Linux.
To bypass Kali Linux’s boot menu, simply edit the file named /etc/default/grub and change GRUB_TIMEOUT=5 to GRUB_TIMEOUT=0. Then run the update-grub command.
Now that we know what to do, and what the result will be, let’s get it done. If you have not done so already, download an installation image of Kali Linux from here.
1. Shrink the Windows 7 C Drive: My test system has an existing installation of Windows 7 on a 500 GB HDD, with just two primary partitions. This is how they appear in Windows 7’s partition manager. The task here is to shrink the C drive to create room for installing Kali Linux. To do that, right-click on the C drive and select Shrink Volume.
Note: If you intend to install Windows 7 afresh, this process will be a lot easier if you set aside the free space that will be used for Kali Linux during the installation of Windows 7.
If you have enough free space on the C drive, the system will suggest a 50-50 split of the free space. Which is just good enough for this test installation. Shrink.
After the operation has completed, you should see the newly reclaimed space next to the C drive. You may exit the partition manager and reboot the computer. Be sure to have the installation disc of Kali Linux in the optical drive before rebooting.
2. Install Kali Linux: The best option to select on Kali Linux’s boot menu is Graphical Install. It gives you a point-and-click installation process. Install works just as well, but the interface is ncurses-based.
For installing Kali Linux, the following partitions will be created: /boot, /, /home, and Swap. In that order. The /home partition is optional. At the disk partitioning methods step of the installation process, you get a bunch of options. Because none of the guided options will create a separate /boot partition, creating the partitions will have to be done manually. So select “Manual” and click Continue.
Here you can see the existing Windows 7 partitions, both of which are primary partitions. The free space, reclaimed from Windows 7 in the previous step is what will be used for creating the partitions for Kali Linux. To start creating the partitions, select the free space and click Continue.
Create a new partition. Continue.
This shows the total amount of disk space available for Kali Linux. The /boot partition will be created first, so you need to specify the amount of disk space for it.
For this test system, I assigned 300 MB to it. Continue.
Because you still have two primary partitions to use, you can create the boot partition as a primary or logical partition. Either option will work, but the installer prefers creating it as a primary partition, if the boot loader is going to be installed in it. For this test installation, I chose to create it as a logical partition. Continue.
Beginning. Continue.
This step shows the details of the boot partition you just created. The only thing you need to change here is the mount point. Double-clicking on it will open another window where you can specify the correct mount point.
Here’s what it should look like after the mount point has been specified. The other option you might want to change here is the Bootable flag.
There is a good reason it should be enabled, but the system will boot even if it is disabled. It just depends on your BIOS version. For this test installation, it was disabled and the system still worked perfectly.
Here’s the final details of the boot partition. Scroll to “Done setting up the partition,” then click Continue. Note that the steps you used to create the boot partition will be repeated for the other partitions.
Back to the main disk partitioning window, you can see the boot partition you just created, plus the remaining free space. Select, the free space, then click Continue.
--- Page 2 --- Click here to continue
No comments:
Post a Comment